Run an OAuth Integration
Run a Webex OAuth Integration Locally
This tutorial shows you how to get a Node.js server running locally that acts as an OAuth client for a Webex integration, obtain an API access token for the authenticating user, and uses it to call a Webex API to get information about the user.
anchorOverview
anchorThis tutorial shows you how to get a Node.js server running locally that acts as an OAuth client for a Webex integration using a existing application built with Node.js and Express. The app presents a button for the user to start the OAuth flow. After the user has authenticated with Webex and accepted the requested data scopes they are redirected back to the Node.js app. The app obtains an API access token for the authenticated user from Webex and uses it to call the Get My Own Details endpoint. The user's display name is parsed from the response and displayed on the rendered HTML page. As next steps, suggestions are made for creating a new page that lists the user's spaces.
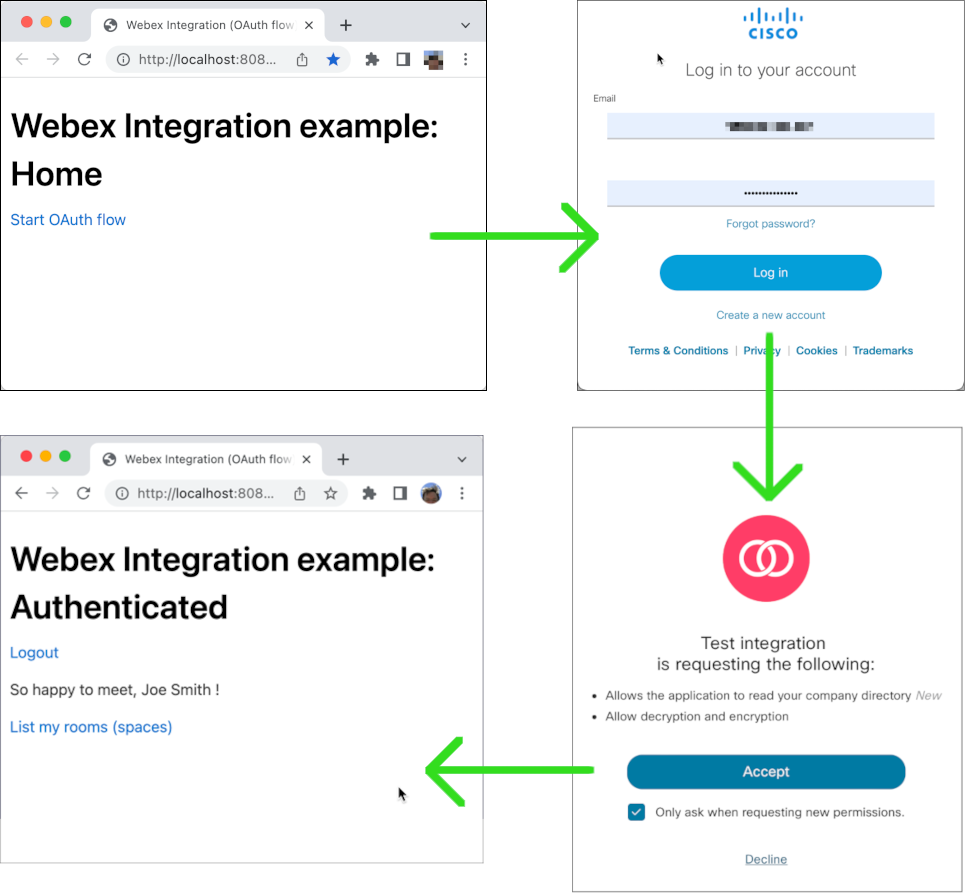
The Node.js application uses Express to define HTTP routes and embedded JavaScript templates (EJS) to compile and render HTML pages that contain data returned by the Webex API, such as the user's display name. HTTP calls to the Webex API are made using the node-fetch package from NPM.
anchorPrerequisites
anchorTo complete this tutorial you will need the following:
- A Webex account. You can create a free account if you don't have one.
- Git installed locally.
- Node.js installed locally.
anchorStep 1: Create the Integration
anchorFirst you'll create a Webex Integration, which represents an OAuth client. An OAuth client ID and secret is generated that you'll use to configure the Node.js app. You also specify the redirect URL where the user is sent after they authenticate with Webex and accept the requested data access scopes. In this case the redirect URL is set to http://localhost:8080 where the Node.js server will be listening for requests from the Webex OAuth server.
To create the Webex integration:
Open the New Integration page on the Developer Portal (you must be signed in).
Enter a name and description and select (or upload) an app icon.
The integration's name and icon are displayed on the OAuth consent page where the authenticated user accepts (or denies) your app's request for the requested data scopes. The description is only used if or when you publish your integration to Webex AppHub.
For Redirect URL enter http://localhost:8080/oauth.

This is where the local Node.js app will be listening for requests.
In the Scopes section select the spark:people_read scope.

Click Add Integration.
Copy the your integration's generated Client ID and Client Secret for use in the next step.

Copy the OAuth Authorization URL string for use in the next step.
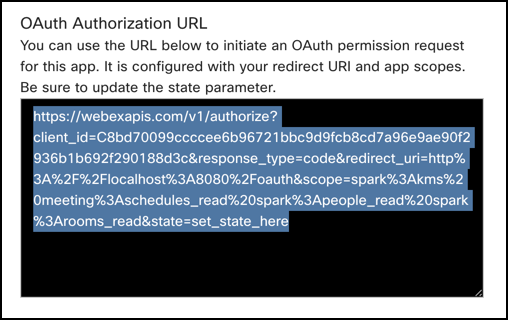
This string contains URL-encoded values for the integration's requested scopes, client ID, redirect URL and state. The Node.js app will compute a new
statequery parameter value and add it to the URL.You could instead compose this URL in code, but typically the URL won't change much once your integration. This way you can't accidentally forget about including a selected scope.
anchorStep 2: Configure and Run the OAuth Server
anchorTo install the server locally you clone an existing Webex OAuth sample and install the project's dependencies. You also configure the app's .env file with the OAuth's client secret and authorization URL copied from the integration's settings page.
To run the server locally:
Clone the OAuth sample project and install its dependencies.
git clone https://github.com/WebexSamples/webex-oauth-integration.git
cd webex-integration-sample
npm install
Open the project's .env file and paste your integration's client secret and initial authorization URL that you copied from the integration's configuration page.
- Add your client ID and secret to the corresponding environment variables.
# Your OAuth integration's client ID/secret
CLIENT_SECRET=<INTEGRATION CLIENT SECRET>

# Initial authorization URL
AUTH_INIT_URL=<AUTH URL>
Save your changes to the server.js and .env files and start the server from a terminal.
node server.jsThe output shows the OAuth client's configuration.
Debugger attached.
oauth OAuth integration settings:
oauth    - CLIENT_ID    : C909b987b64167258774e532d595702ef864a35f7614678dbe4046056daf67d63
oauth    - REDIRECT_URI : http://localhost:8080/oauth
oauth    - SCOPES       : spark:people_read +0ms
Webex OAuth Integration started on http://localhost:8080
anchorStep 3: Test the Integration
anchorNext you'll test the integration by initiating the OAuth flow from your browser, signing in to your Webex account and accepting the requested data scopes on the consent screen.
To test the integration:
Open http://localhost:8080 and click Start OAuth Flow.

Sign in to your Webex account, if prompted, and click Accept on the consent page.
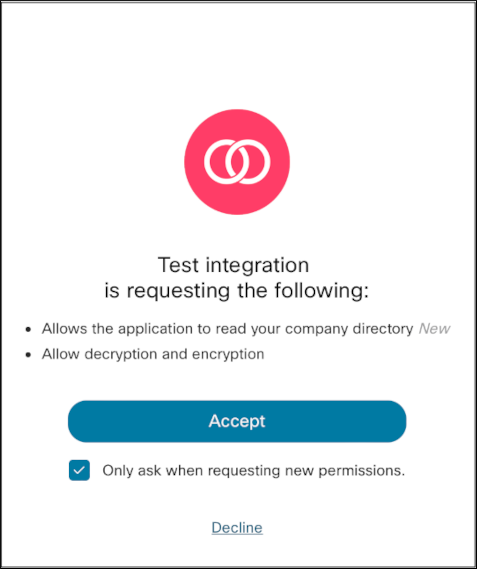
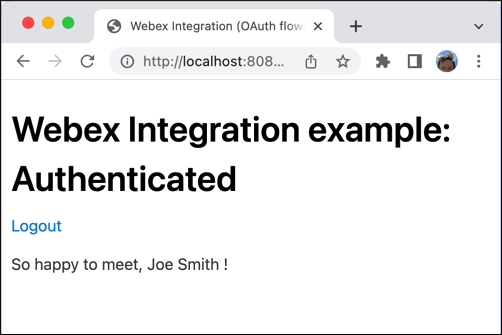
Your browser is redirected to the integration's redirect URI, where the Node.js app exchanges the authorization code returned by Webex for an API access token, and stores the token as a session variable. The server then uses the access token to call the Get My Own Details endpoint, which returns details about the authenticated user. The server parses out the user's display name from the response and returns it in a compiled EJS template.
anchorStep 4: List the User's Spaces
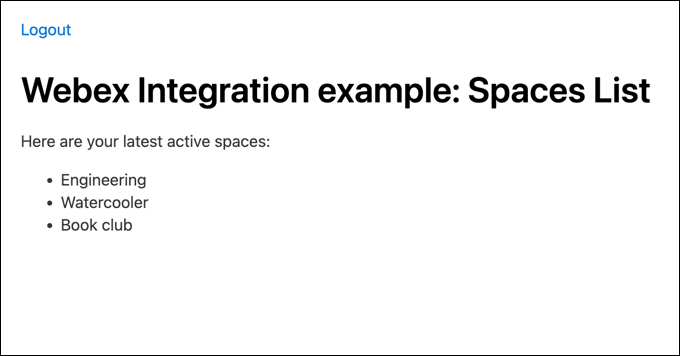
anchorNext you'll add a new scope to your integration that will allow your app to get a list of Webex spaces (called "rooms" in the API) the user has recently visited, and modify the Node app to let the user view a list of their spaces.
To list the user's spaces:
Update your Webex integration to include the spark:rooms_read data scope.
Save your changes to the integration and copy the new authorization URI paste it into the project's .env file for the
AUTH_INIT_URLvariable, as before. This URL contains the newly added scope.In the Node project uncomment the following line in www/display-name.ejs. An Express route for this path is pre-defined in server.js.
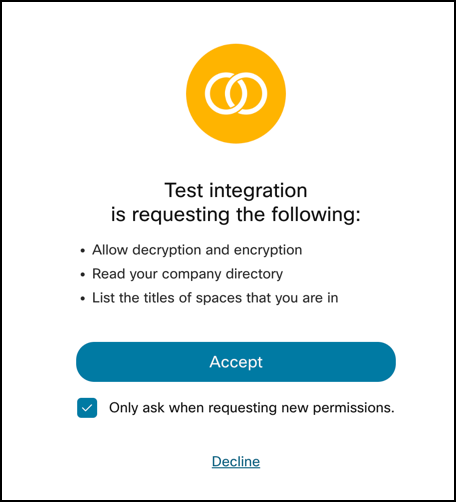
<a href="/listrooms">List my rooms (spaces)</a>Restart the Node.js application and repeat the login and consent process. Note that the consent screen asks for an additional scope ("List titles of spaces that you are in").
On the greeting page click List my Rooms to display a list of your recently visited rooms.
